Drawing a Portrait

Drawing a Portrait
- 3h 19min
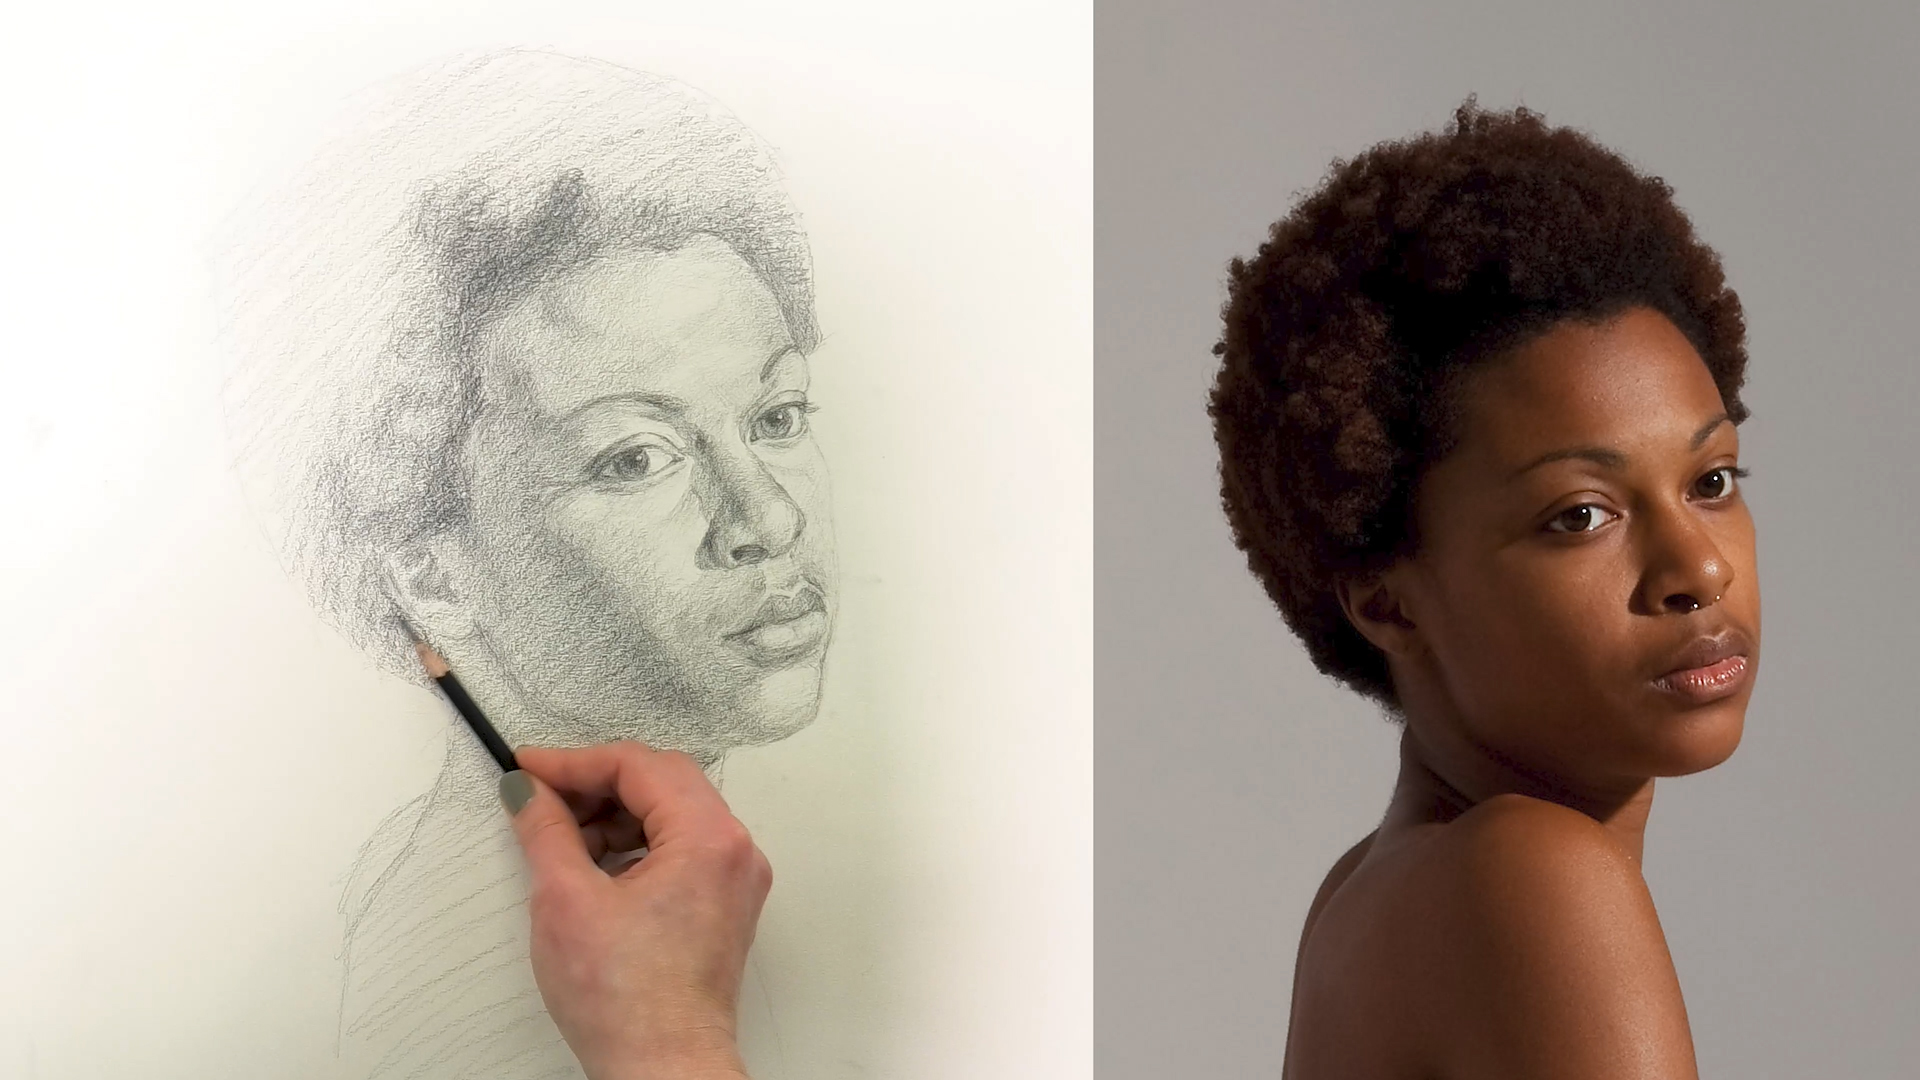
Welcome to this pencil portrait drawing demonstration! In this course, you’ll learn how to start a portrait drawing, correct it, and add detail and shading.
If you’ve ever come across major drawing errors late in your drawing, or wondered how to correct them or whether you should start again, this course is for you.
More than halfway through the portrait, I realized that I hadn’t achieved a likeness, and had to make some major corrections. It’s a fantastic learning experience – learn from my mistakes, and also learn how to correct a drawing when you realize it’s inaccurate.
This course discusses simple portraiture anatomy, measuring, working from large to small, how to add shading, and more.
Lesson Overviews
Introduction
- 2min
Welcome to the portrait drawing course! You’ll learn how to set up a portrait, add shading, and make major corrections.
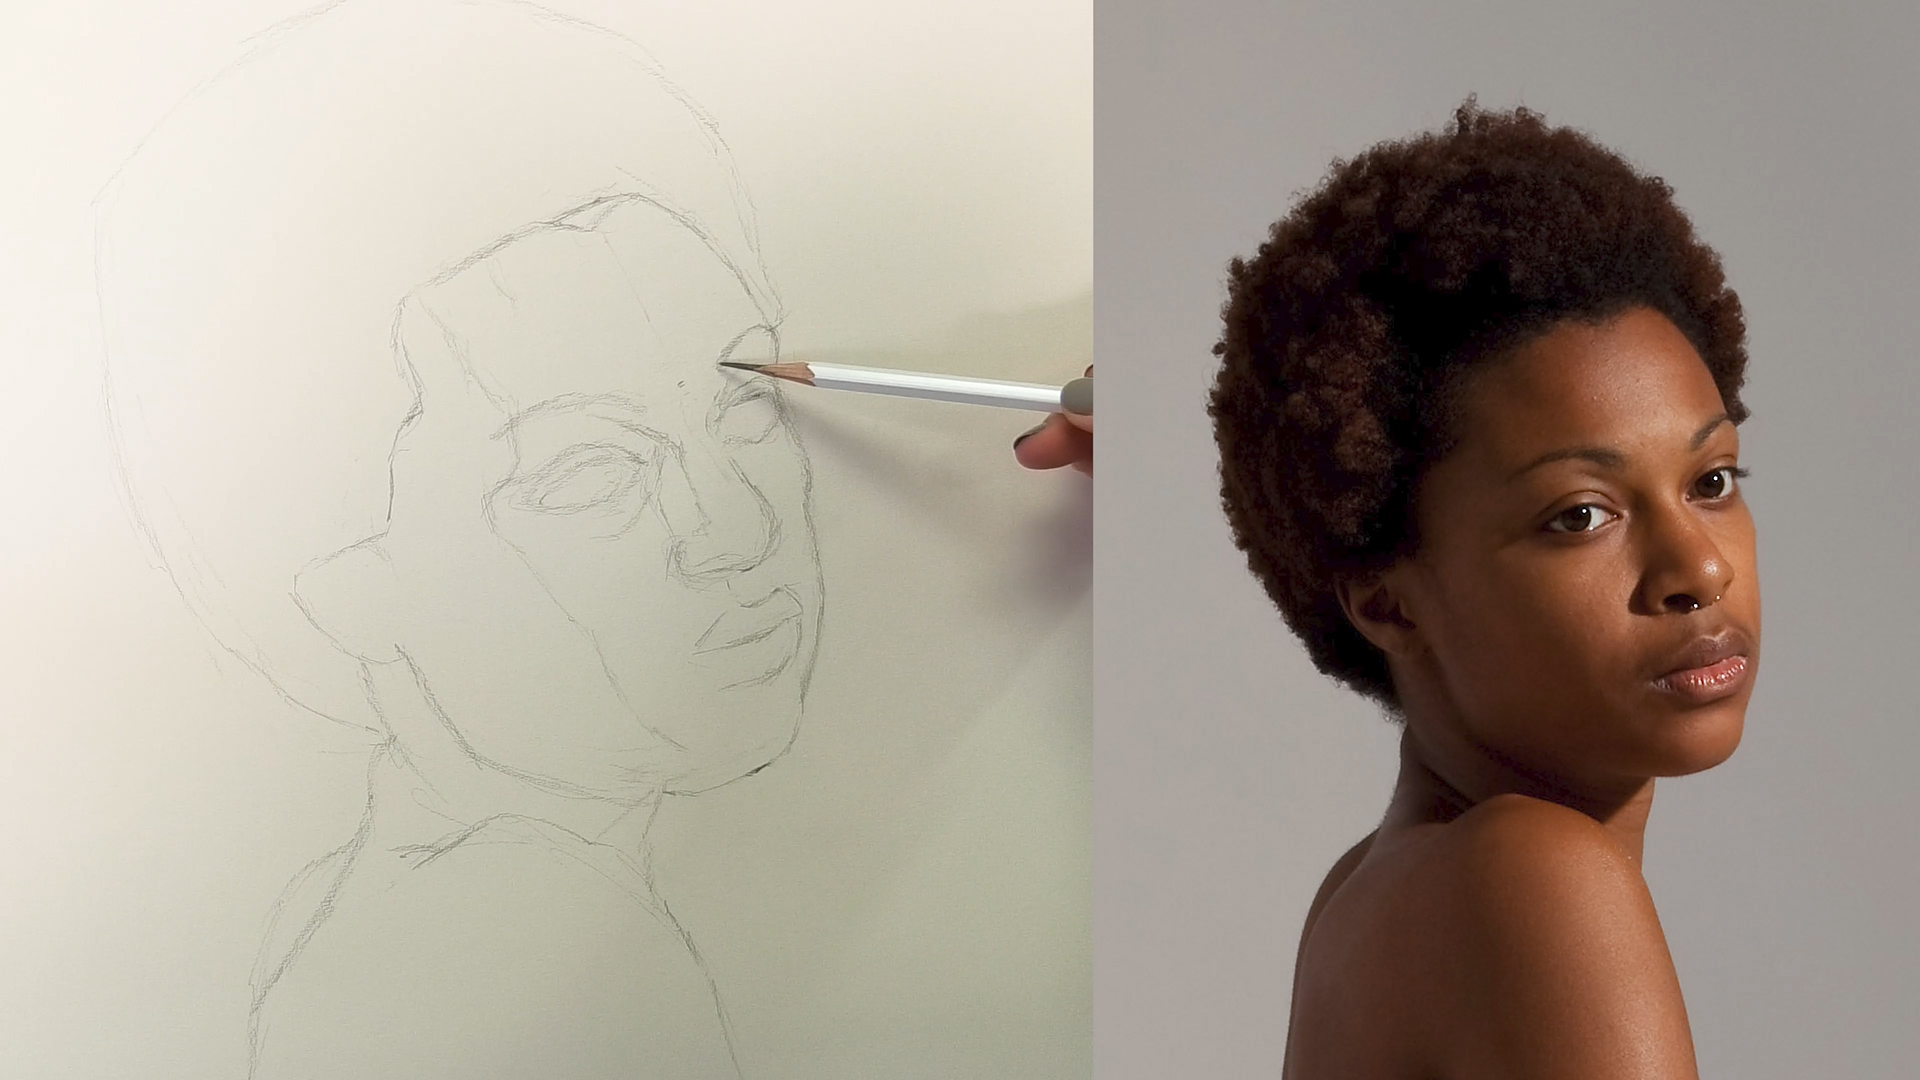
- 39min
Use loose, general shapes to set up the portrait. Keep the detail for later and focus on the bone structure and large measurements.

- 23min
Make the shapes and facial features more accurate by measuring distances, using a plumb line, and observing carefully.
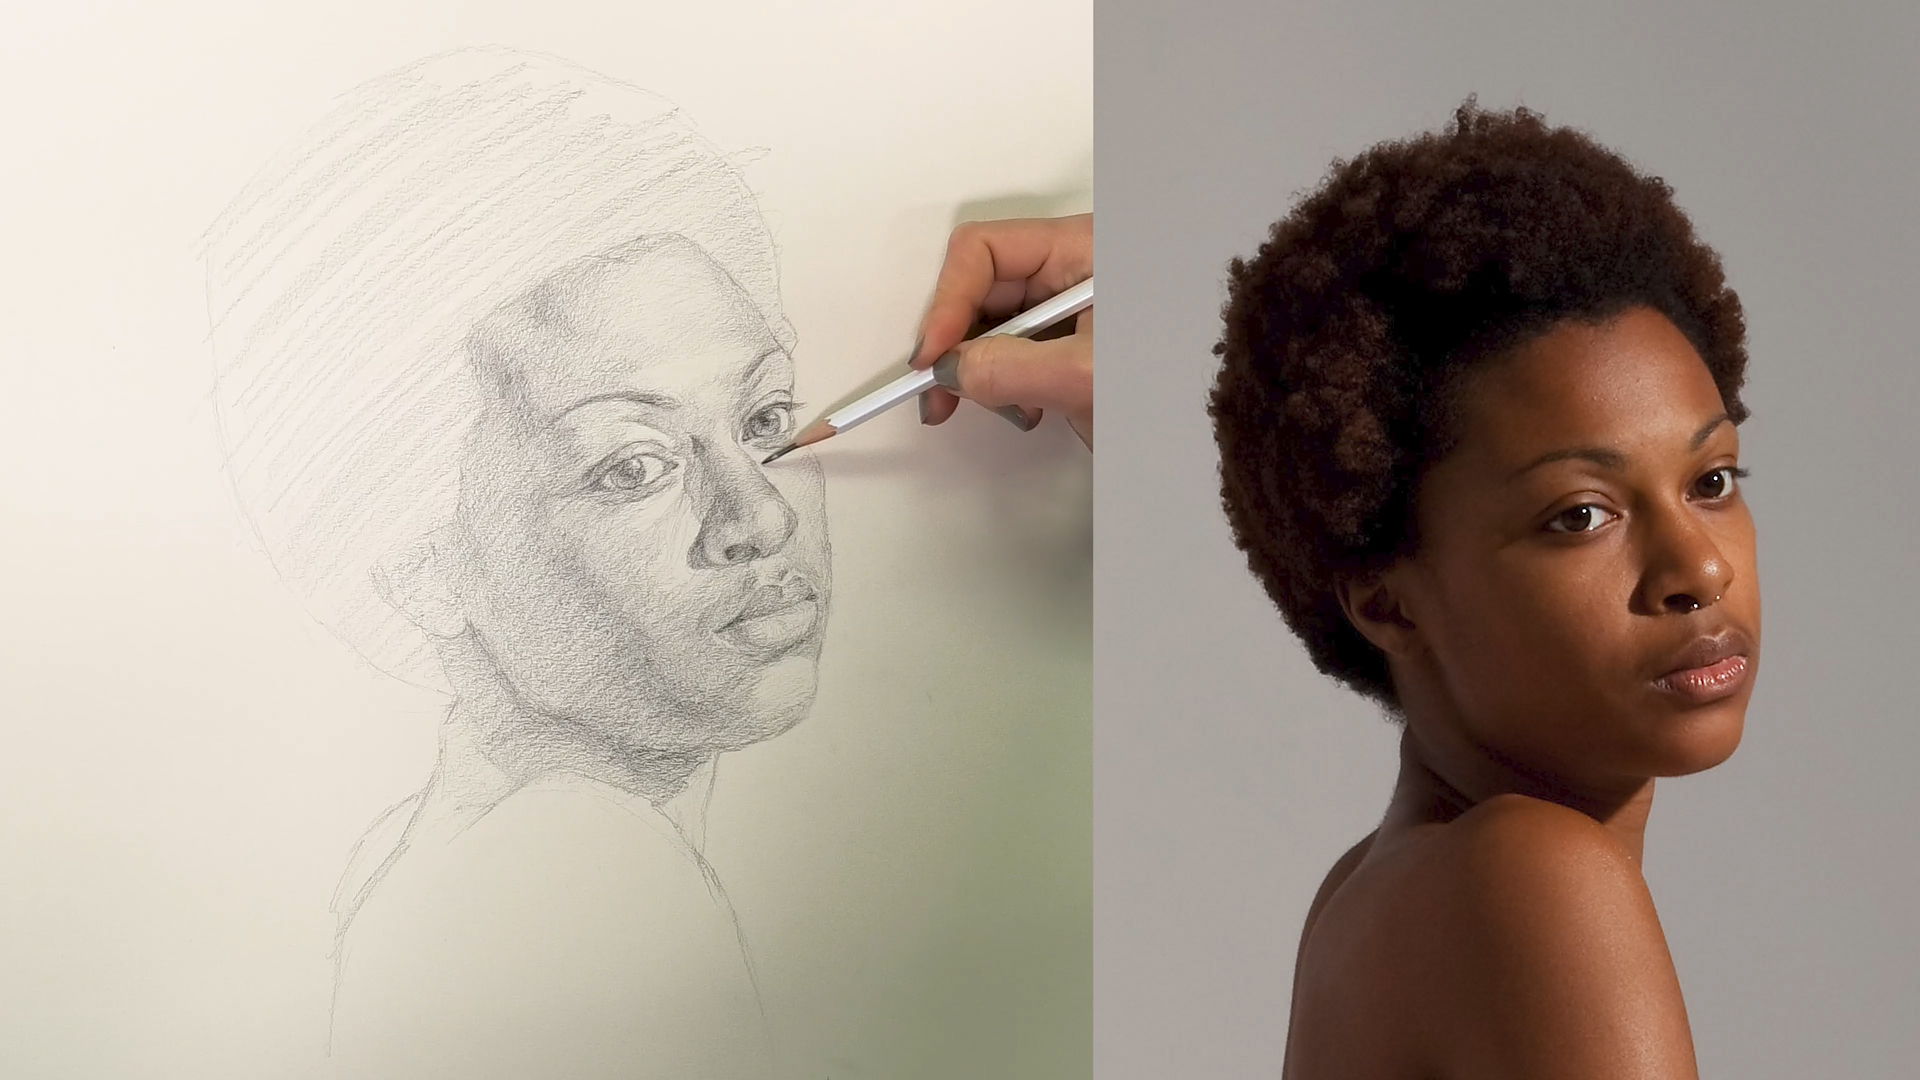
- 47min
Now that the shapes are in the right place (or so I thought), it’s time to build form and volume by adding shading.
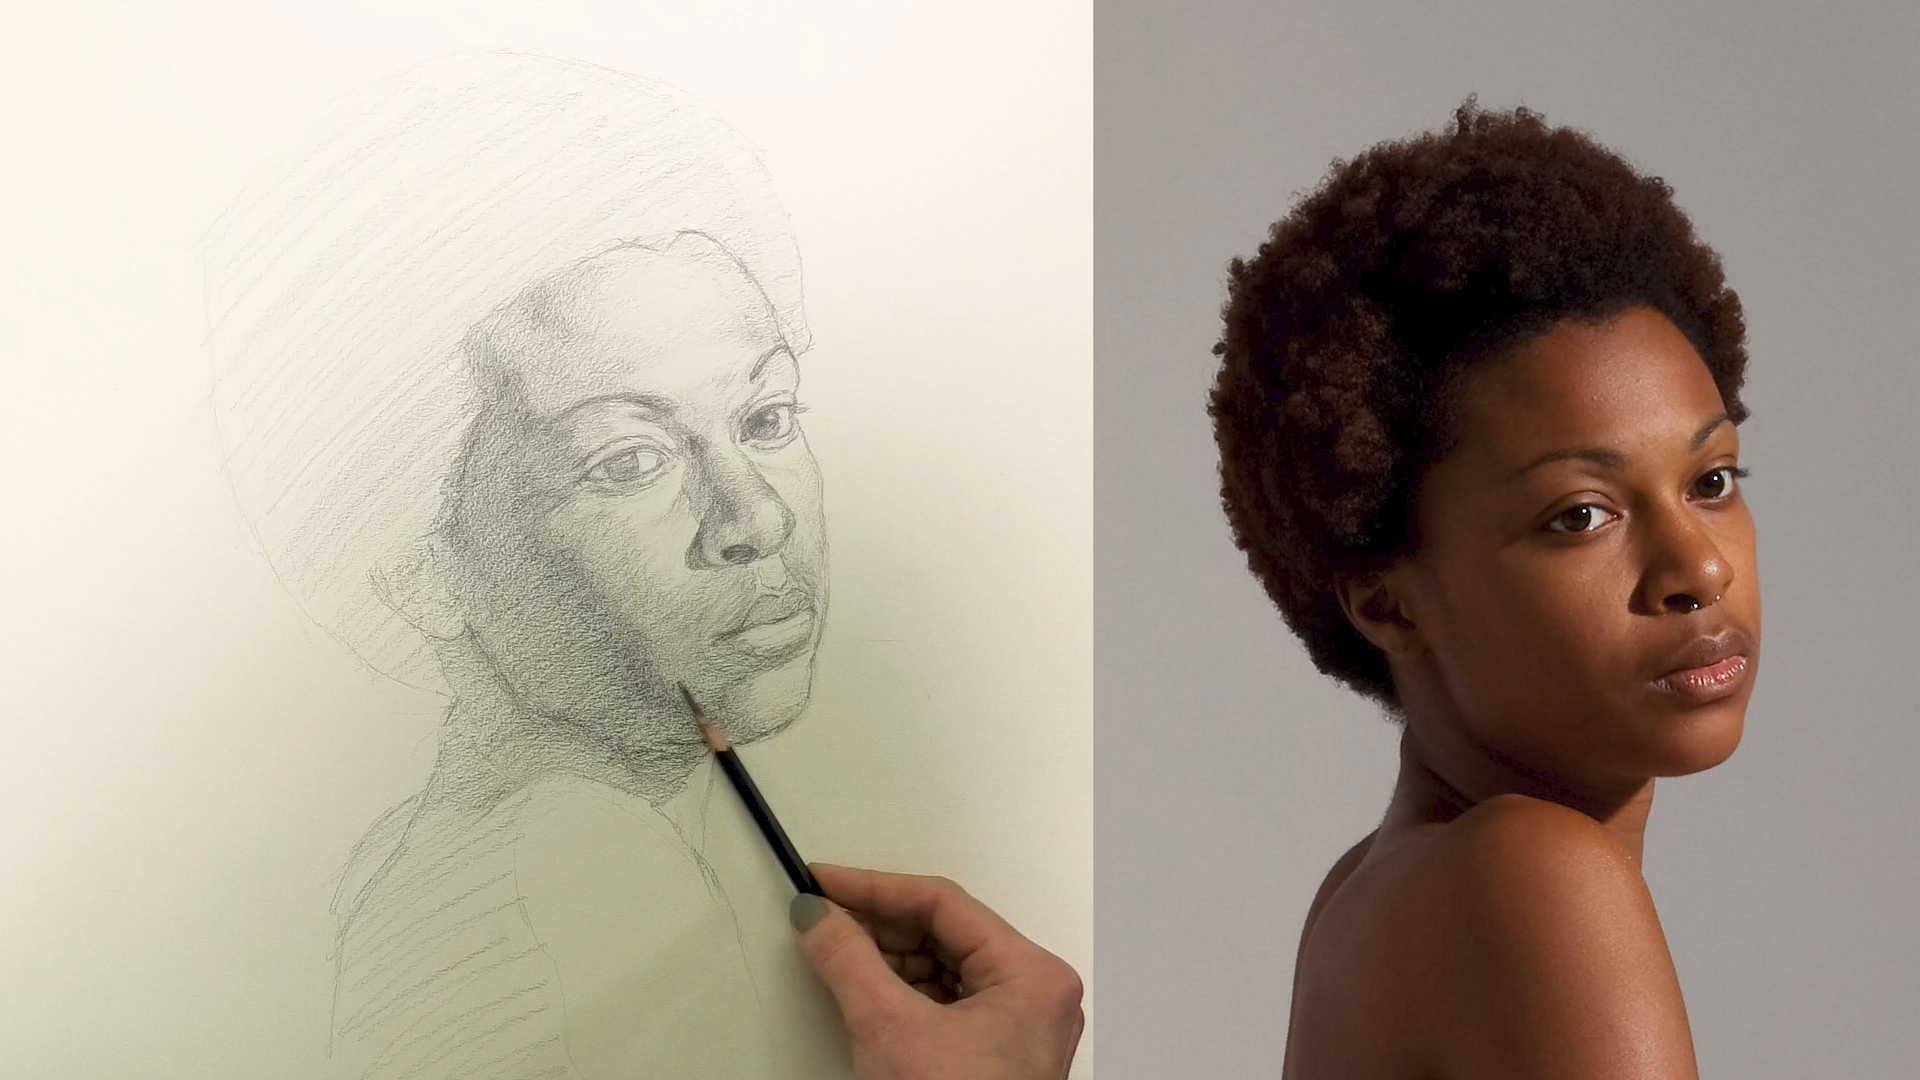
Part 4: Correcting the Drawing
- 33min
In this video lesson, you’ll see the portrait change and become more accurate through some major reworking. An excellent learning experience if you’ve ever become stuck with a drawing and aren’t sure how to progress.
- 30min
The portrait shading and detail becomes further developed following the corrections from last lesson.

- 27min
In this last lesson, the portrait undergoes a few more revisions, plus further shading in order to develop the structure and form. Thank you for coming on this journey with me!
What you'll learn
- How to achieve a likeness with a portrait
- How to add pencil shading to make the portrait look realistic
- How to correct a drawing, rather than restarting
- Using bone structure and large shapes to begin a portrait
- Practical use of portrait landmarks and anatomy to draw a likeness
